Amber Polished Jewelry Making: A Crafter's Guide

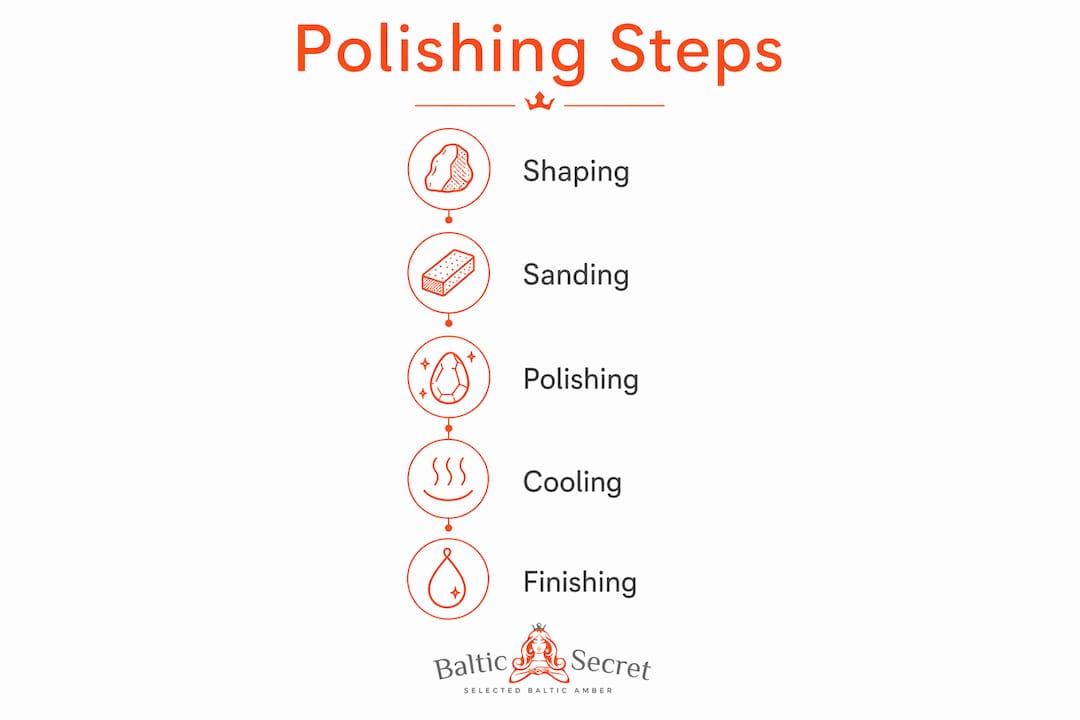
Amber polished jewelry making is the art of shaping raw natural resin into smooth, lustrous pieces through a precise sequence of grinding, sanding, and polishing steps. The industry term for this process is lapidary finishing, and it applies directly to amber despite amber being fossilized tree resin rather than stone. Baltic amber from Lithuania is the most prized material for this craft, valued for its warm honey tones, natural inclusions, and workability. Artisan craftsmanship drives the quality of every finished piece, whether you use hand tools or a mechanical tumbler. This guide walks you through every stage of how amber polished jewelry making works, from raw chunk to wearable gem.
What materials and tools do you need for polished amber jewelry?
The right toolkit separates a frustrating first attempt from a satisfying finished piece. You do not need industrial equipment to start. Most hobbyists work successfully with a short list of affordable supplies.
Raw amber types to source:
- Baltic amber chips or lumps (raw, unpolished)
- Amber rough with visible cortex (outer crust) for shaping practice
- Pre-drilled amber beads if you want to skip the drilling stage
Shaping and sanding tools:
- Wet/dry sandpaper in grits 80, 120, 220, 400, 600, 800, 1000, and 1500
- A flat sanding block or glass tile for even pressure
- A rotary tool like a Dremel with grinding attachments for shaping
- A hand drill or pin vise with 0.8–1.5 mm drill bits for bead holes
Polishing supplies:
- White toothpaste (non-gel) for manual finishing
- Soft cotton or linen cloths for buffing
- Cerium oxide or tin oxide polishing compound for wheel polishing
- A bench polisher or buffing wheel attachment for a Dremel
Optional batch polishing equipment:
- A vibratory tumbler with porcelain media for gentle batch runs
- A centrifugal disc finishing machine for faster production
Pro Tip: Always keep a small bowl of cool water nearby. Dipping amber between sanding steps prevents heat buildup that can cloud the surface.
Reviewing the amber jewelry safety guide from Baltic Secret before you start is worth your time. It covers handling precautions specific to amber pieces, including sharp edge risks and fragility.
How do you shape and prepare amber before polishing?
Shaping is the stage most hobbyists underestimate. Get it wrong here and no amount of polishing will fix a lopsided bead or a scratched surface. Ancient amber workshops dated to the 3rd–4th century CE used knives, bone drills, and stone tools to shape amber because the material is relatively soft and easy to cut. That fact should give you confidence. You do not need a machine shop.
Follow this sequence for shaping a raw amber piece into a pendant or bead:
- Remove the cortex. Use 80-grit wet/dry sandpaper to grind away the rough outer crust. Work in one direction with moderate pressure. Keep the amber wet to reduce friction heat.
- Rough shape the piece. Use a Dremel with a small grinding stone or a carving knife to cut the amber into your target shape. Amber carves like hard soap. Take off material gradually.
- Progress through grits. Sand with 120-grit, then 220-grit, then 400-grit in sequence. Each grit removes the scratches left by the previous one. Skipping grit levels dramatically increases the time needed to remove scratches later. Never jump from 120 directly to 400.
- Drill holes if needed. For beads or pendants, drill at this stage before fine sanding. Use a 0.8–1.2 mm drill bit at low speed. Apply light pressure and withdraw the bit frequently to clear debris. Drilling after polishing risks cracking the finished surface.
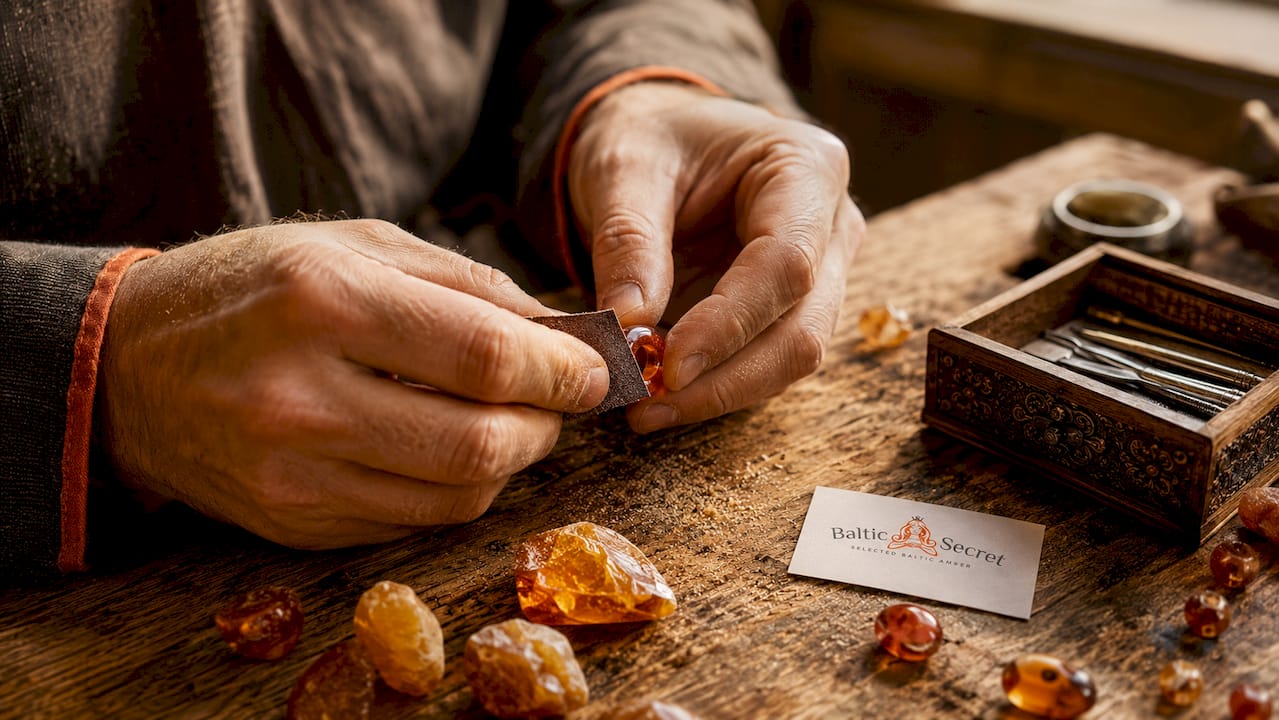
- Finish the sanding sequence. Continue through 600, 800, 1000, and 1500 grits. By 1500-grit, the surface should look semi-transparent and feel glassy to the touch.
- Rinse and inspect. Wash the piece under cool water and dry it with a soft cloth. Hold it up to a light source. Any remaining scratches will show clearly at this stage. Return to the appropriate grit if you see them.
Pro Tip: Wrap sandpaper around a wooden dowel or pencil to sand the inside curves of drilled holes and concave shapes. Flat paper misses these areas entirely.
The multi-stage production process identified in ancient amber workshops confirms that forming, grinding, drilling, and polishing have always been distinct stages. Rushing any one of them shows in the final piece.
What are the best polishing methods for a high-quality amber finish?
Polishing is where amber transforms from a dull, scratched blank into a glowing jewel. You have three practical options as a hobbyist: manual polishing, wheel polishing, and batch tumbling. Each has real tradeoffs.
Manual polishing with toothpaste
Manual polishing with white toothpaste applied to a damp cotton or linen cloth in circular motions achieves a glossy finish after the 1500-grit sanding stage. This method costs almost nothing and gives you full control over pressure and coverage. It takes about 5–10 minutes per piece. The mild abrasive in non-gel toothpaste removes the finest surface scratches left by 1500-grit paper.
Wheel polishing with compounds
A buffing wheel loaded with cerium oxide or tin oxide compound produces a deeper, more consistent shine than toothpaste alone. Cerium oxide is the standard choice for transparent amber because it polishes without removing material. Run the wheel at low speed (under 1,500 RPM) and keep the amber moving. Holding it in one spot generates friction heat fast.
Heat buildup during polishing can damage amber clarity and create sticky surfaces if you do not cool the piece regularly. Touch the amber every 15–20 seconds. If it feels warm, set it down and let it cool before continuing.
Batch polishing with tumblers
| Method | Speed | Best For | Key Risk |
|---|---|---|---|
| Vibratory tumbler | Slow (hours to days) | Batches of small beads | Long cycle times |
| Centrifugal disc finisher | Fast (up to 30x faster) | Production volumes | Overheating without soft media |
| Manual toothpaste | Slowest (per piece) | Single pendants or focal beads | Inconsistent pressure |
Centrifugal disc finishing machines polish amber up to 30 times faster than vibratory tumblers. That speed advantage is real, but it requires soft porcelain media to protect amber from scratching. Hard plastic or ceramic media will damage the surface. Vibratory tumblers are gentler and more forgiving for beginners working with irregular shapes.
Pro Tip: For batch tumbling, add a small amount of burnishing compound to the water in the tumbler. This lubricates the media and reduces surface micro-scratches significantly.
How do traditional artisan techniques compare to modern polishing methods?
The contrast between ancient and modern amber polishing is sharper than most hobbyists expect. It also reveals something useful about where to invest your effort.
Traditional artisan amber jewelry craftsmanship relied entirely on hand tools. Bone drills, iron knives, and flat grinding stones were the standard equipment in workshops across ancient Masovia. These craftspeople produced beads and pendants at scale using nothing more complex than controlled hand pressure and sequential abrasion. The role of artisan in amber jewelry was inseparable from the physical act of grinding and shaping by hand.
Modern mass finishing equipment changes the equation for volume production. Batch polishing with tumblers requires soft media and controlled cycle speeds. Faster centrifugal disc finishers can produce high-quality polish up to 30 times faster than vibratory tumblers when the media is appropriate. For a hobbyist making one or two pieces at a time, that speed advantage is irrelevant. For someone building a small jewelry business, it changes the economics entirely.
The honest comparison looks like this:
- Hand polishing gives you tactile feedback, zero equipment cost, and full control over delicate inclusions or unusual shapes.
- Wheel polishing speeds up the final buffing stage and produces consistent results across multiple pieces.
- Tumbler polishing works best for uniform beads in batches of 20 or more. It does not replace hand finishing for complex shapes.
“Amber polishing combines traditional craftsmanship with modern efficiencies. Hobbyists gain the best results by integrating simple hand tools and select technology safely.” — Science in Poland
The practical takeaway for hobbyists: use hand tools for shaping and final detailing, and consider a small vibratory tumbler only if you regularly polish batches of uniform beads.
What mistakes should you avoid when polishing amber?
Most failed amber polishing projects trace back to a small set of repeatable errors. Knowing them in advance saves hours of rework.
- Skipping grit progressions. The jump between coarse and fine sandpaper grits is not linear. Skipping coarse grits leaves scratches that require excessive effort to remove later. Always work through every grit in sequence.
- Overheating the amber. Friction from sanding or buffing raises surface temperature fast. Amber can lose clarity or develop sticky surfaces if overheated during polishing. Cool the piece between every grit change.
- Using hard tumbling media. Hard plastic or ceramic media scratches amber in a tumbler. Porcelain media is the standard for amber polishing in mass finishing machines. Use it exclusively for batch work.
- Polishing before drilling. Drilling after the final polish almost always cracks or chips the surface. Always drill at the shaping stage, before fine sanding begins.
- Rushing the final grit stages. The difference between 800-grit and 1500-grit is the difference between a hazy surface and a clear one. Spend equal time on each fine grit.
Pro Tip: Keep a magnifying glass at your workstation. Inspect the surface under magnification after each grit change. Scratches that look minor to the naked eye become obvious under 5x magnification, and catching them early saves significant time.
Safety matters too. Amber dust from grinding is an irritant. Work in a ventilated space and wear a dust mask when using power tools. Sharp carving tools require cut-resistant gloves for extended shaping sessions.
Key takeaways
Successful amber polished jewelry making depends on following a strict sequence of shaping, sanding, and polishing steps while managing heat and grit progression at every stage.
| Point | Details |
|---|---|
| Follow grit sequence strictly | Never skip sandpaper grits; each step removes scratches from the previous one. |
| Cool amber between steps | Heat from friction clouds amber and creates sticky surfaces; rest or rinse between grits. |
| Use porcelain media for tumblers | Hard media scratches amber; soft porcelain is the correct choice for batch polishing. |
| Drill before final polishing | Always drill holes at the shaping stage to avoid cracking a finished surface. |
| Toothpaste works for final polish | White non-gel toothpaste on a damp cotton cloth delivers a genuine gloss on hand-polished pieces. |
Why the tactile process is the point, not just the product
I have worked with amber long enough to know that most beginners focus entirely on the finished piece and almost none on the process itself. That is the wrong priority. The moment you start grinding a raw Baltic amber chunk with 80-grit paper and feel the cortex giving way to the warm, translucent resin underneath, something shifts. The material rewards patience in a way that few craft materials do.
The biggest mistake I see new hobbyists make is treating the polishing stage as a quick finishing step. It is not. The polishing stage is where you either confirm that your sanding sequence was correct or discover that you skipped a grit and now have to go back three steps. I have done that more times than I want to admit.
What I find genuinely satisfying about how artisan amber jewelry is crafted by hand is that the tools are simple and the feedback is immediate. You do not need a centrifugal disc finisher to make something beautiful. A piece of 1500-grit paper, a damp cotton cloth, and a dab of white toothpaste will take you further than most people expect. The artisan amber jewelry craftsmanship techniques that ancient workshops used for centuries still work. That continuity is worth something.
My honest advice: make your first five pieces entirely by hand before you buy any power equipment. You will understand the material better, and your results with machines will improve because of it.
— Baltic Secret
Start your amber jewelry project with the right materials
Making polished amber pieces starts with sourcing genuine Baltic amber you can trust. Baltic Secret offers authentic amber beads sourced directly from Lithuania, covering a full range of colors, sizes, and finishes suited to jewelry crafting projects. Whether you want raw chips for shaping practice or pre-polished beads to string directly, the selection covers both starting points.

For hobbyists ready to work with finished polished beads, the polished amber necklace and bracelet beads from Baltic Secret show exactly what a properly finished amber surface looks like. Using certified authentic material from the start means your finished jewelry reflects genuine Baltic amber quality, not a synthetic substitute.
FAQ
What grit sandpaper should i start with for amber?
Start with 80-grit wet/dry sandpaper to remove the outer cortex and rough shape the piece. Progress through 120, 220, 400, 600, 800, 1000, and 1500 grits in sequence before polishing.
Can i polish amber without a tumbler or polishing machine?
Yes. Manual polishing with white toothpaste on a damp cotton or linen cloth achieves a glossy finish after completing the full sanding sequence through 1500-grit paper.
Why does amber get cloudy during polishing?
Cloudiness during polishing is caused by heat buildup from friction. Cool the amber under running water or let it rest between sanding steps to prevent surface damage and loss of clarity.
What media should i use in a tumbler for amber?
Use soft porcelain tumbling media exclusively. Hard media scratches amber during batch polishing, while porcelain protects the surface and delivers a consistent finish.
When should i drill holes in amber beads?
Drill holes after rough shaping and before fine sanding begins. Drilling after the final polish risks cracking or chipping the finished surface, which cannot be repaired without restarting the polishing sequence.